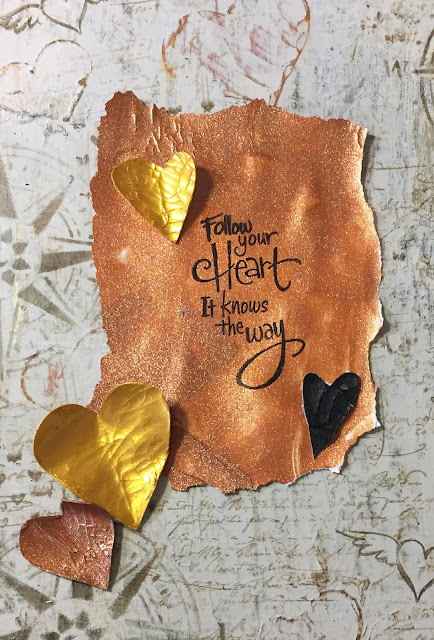
I can't believe it is already February!! Down here in Atlanta, we haven't really had much of a winter so my trees are already blooming and my spring bulbs are poking through the ground. My fingers are crossed for at least one more little wintery spurt - perhaps a day with snow flurries! But in the meantime, I am happy to celebrate February with hearts and some sweet inspiration!! And I HOPE that you will join us as well in our Mixed Media Monthly Challenge #33!! And if you play, one random player, will be drawn for an awesome gift card from Stampendous!! We had a blast playing with our stampendous products this month - such an amazing selection!!
And here is my project this month!
So, this project has changed so many times throughout the last few weeks!! I really wanted pink and red hearts ... I walked through the stores to get some Valentines Day inspiration, but I couldn't do it!! Instead, I ended pulling out the gold and bronze colors to make my hearts.
Then I had the (un-smart) thought to put the colors directly onto top of the background .... ugh. It was SO not working for me. So I scrubbed off what I could ...
And then I used Paper Artsty Chalk paint in Stone color to cover up the whole wood block to start over again.
The Vintage Contract text stamp from Stampendous created another layer of texture in the background. And let me tell you, this is my new favorite stamp ... it is in the background of almost every project I have made since I got it in the mail!!
I added some more hearts with an old stamp ...
I stamped the Follow your Heart text onto a big piece of the copper covered paper, cut some hearts out of the paper that I had played with and put all the pieces together! And I was happy! Sometimes, you just have to keep adding layers and pushing yourself to create and finish a project!


