Monday, May 19, 2014

Live Simply!

Well, I might have gone a little crazy but I just wanted to share with you a crazy little canvas that I made the other day!  Seriously, sometimes it is just fun to goof off!


It started with a canvas I had tried something on before but didn't like.  (So here is my challege for you. .. take out a project that you didn't like and just go over it with something crazy!!)  Here I went from ugly torn paper that wouldn't peel off .... to something just a little fun! 


 I copied a piece of my favorite vintage wallpaper and used gel medium to cover the ugly canvas. (Seriously, find a wallpaper book - they make fun backgrounds - I got this one off of Ebay!)


Then I was sitting around doodling in my sketchbook and came up with this little mason jar terrarium. Why not create something just a little whimsical?


 I actually cut out my sketch to trace it because I just couldn't get the shape right on the canvas!

 Then I created a washy-kind of paint (totally technical term, right?) with paint, acrylic glazing and water.  I wanted to play around with creating a 'see-through' jar, just like it was sitting on my shelf.  I also created a white-wash to put on the wallpaper around the jar!


And it worked!!  And I was SO excited, I didn't take another picture until the end ...  


but I cut paper, glued, highlighted, used rub-ons and doodled to create the finished project! 


I hope you enjoyed my little goof off ... now go create your own goofy canvas!! 
- Karen


Thursday, May 15, 2014

  I just adore the shapes that the Linnie Bloom stencils come and when I saw the bird stencil, this little idea just seemed perfect!! 


First, I took out a canvas and created a background.  I combined teal and titan buff and used them in the Chevron Grunge stencil.  Then I added some Tim Holtz tissue paper with gel medium and stamped on a little bit of text for texture.


Then came the REALLY fun part ... gelli plate playtime!! I rolled on a little bit of paint and laid the stencil down right on top of the gelli plate.


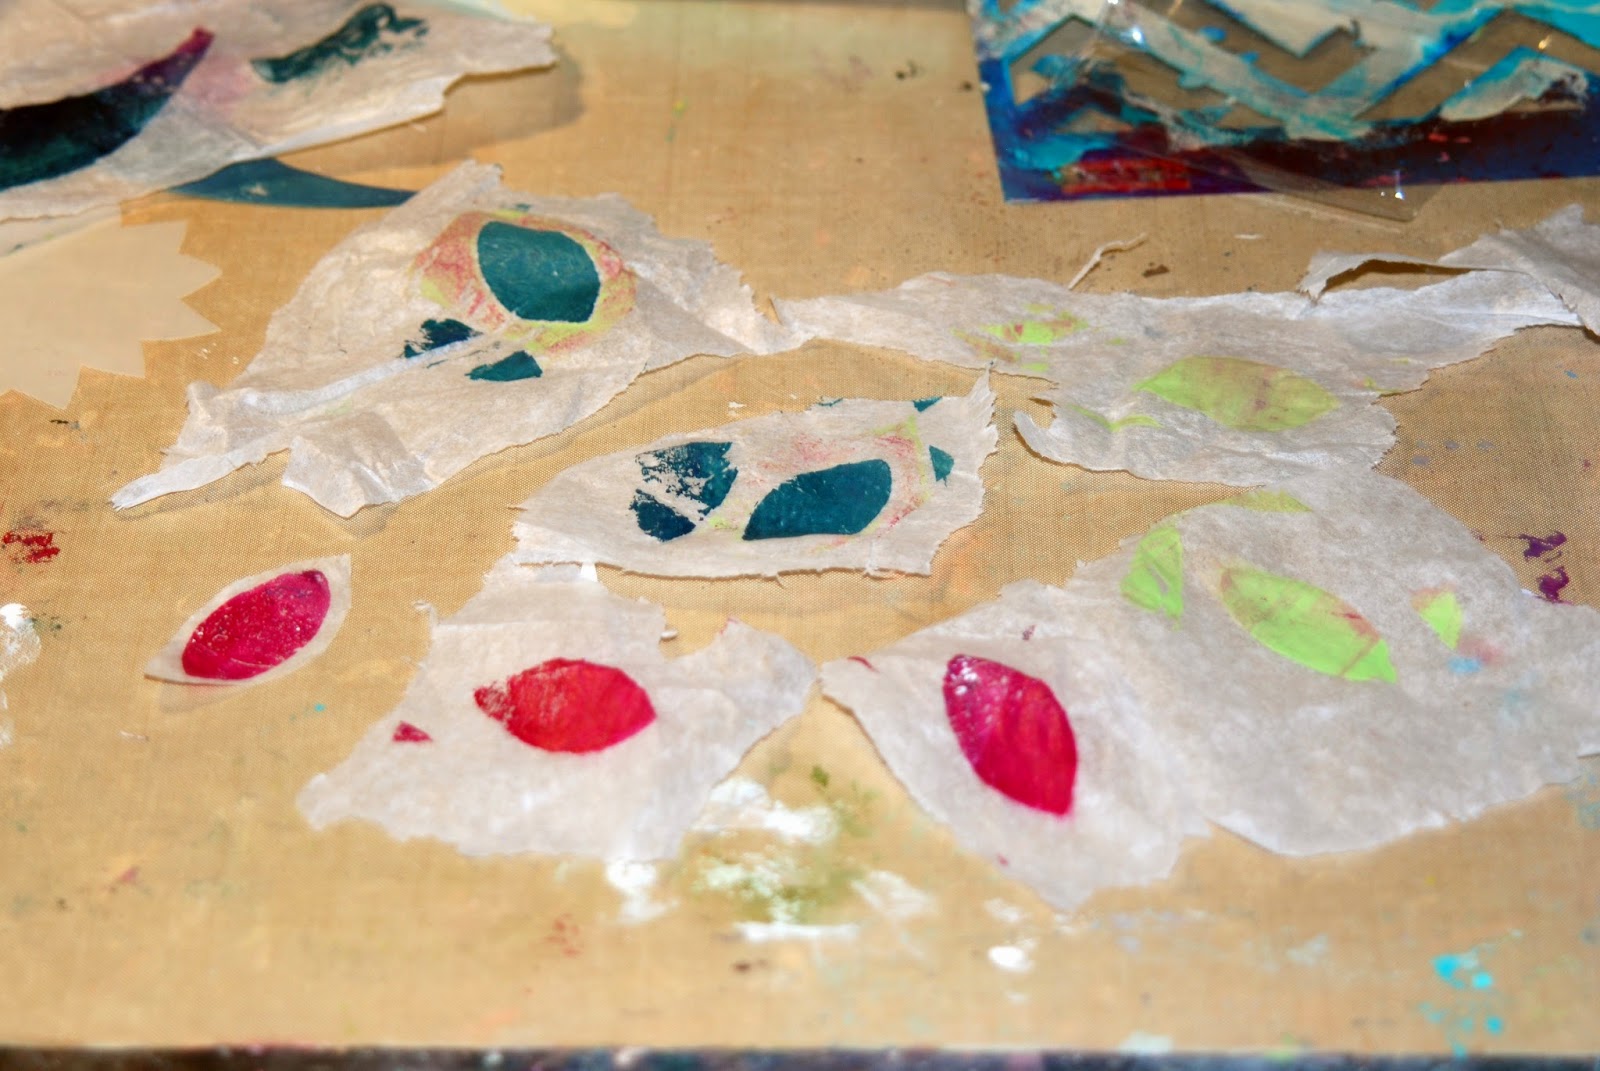
I laid down some plain white tissue paper to pull off the 'image!'  (The trick here is to not use too much paint, the less the better, so that you don't saturate the tissue and rip it. )


 I also followed the same technique to make the tailfeathers using the leaf stencil from the bloom stencil kit!

  I used the stencil to 'draw' the branch and leaves.


This is what the tissue paper bird and her tail feathers looked like before I glued it down to the canvas!


Finally, I used Gel Medium and this little bird looks like she just a part of the canvas!!


A couple more 'tailfeathers' and doodling ...


And just a couple of finishing details and this little bird is ready to sing her heart out!! 


Thank you SO much for stopping by today.  I hope you find some inspiration from my project! Grab your stencils, visit Linnie Bloom, your paints and go create!!

Thursday, May 8, 2014

ePlay Challenge - Stencils!

Stained Glass Windows - pretty much one of my favorite things in the world.  I just absolutely adore the colors, the delicacy and the light streaming through.  I have always wanted to make one, but I cut myself with my own scissors so glass seems like the last thing anyone should let me play with!!   But when I thought about Sue's wonderful ePlay challenge this month, I started browsing through my stencils, and I found the Crafter's Workshop church window stencil. Then I thought, I have a ton of stencils, why not layer them over the windows and let the stencil create the white space! And here is my stained glass window in my art journal.


I started with the 12x12 stencil taped down onto a piece of mixed media paper. (Kim has the 6x6 in her shop)  I used my washi tape because I couldn't find my masking tape, and seriously, I have enough washi ... yes, I have a little washi tape problem!

 Then I started spraying with my Dylusions sprays, using various stencils over the top of the window stencil.

 After each color I was careful to let them dry .... this way there wasn't too much mixing when I sprayed the next color! 
 And after I removed the stencil - LOVE!  Look at the detail in the windows ... just so happy!

 Then I took out my art journal.  (I am on the last page ... makes me sad.)   The page on the right, is my extra paint page. This is the page that throughout projects or pages I put the leftover paint or dirty stencil impressions.  Sometimes, it looks like mud, but I think it looks pretty this time!!  

And on the page that I put the window on, I had a teal background already painted.  I just used white Dylusions Spray and a stencil to create some visual interest instead of just the flat background.  Then I highlighted around it and doodled and stamped.   Done and it makes me smile! 


So really, I have two stencil projects here ...


And now, I have to go create a new art journal ... 
and you have to come over to the EPaperie blog and play along with our challenge!!

Tuesday, May 6, 2014

My Last Faber-Castell Post ....

 Make sure you swing by the Faber-Castell Deign, Memory, Craft blog today to see my last Guest Design!! It has been such an honor to design for them .... 


Thursday, May 1, 2014

Image Transfers!! On Canvas?? YES!!

Hi Linnie Bloom Fans!! I am SO super excited to be guest designing here for Linnie Blooms again!! I have more fun playing with canvas and canvas shapes!!  And today was a FUN day!!  I was just goofing around with some new gel medium I bought at Blick art supply last week ... and OH, image transfer happiness!!


It all started out when I pulled out my little muslin bag that I keep my Linnie Shapes in and realized, how sad it looked being all plain and boring.  So I mixed up a little pink-ish paint and painted a stencil to design a background onto the muslin. 


Then I took out a Linnie Flourish pocket and stamped with brown archival ink ... and did a little more stamping!


I used some Helmar 450 quick drying glue to attach the pocket to the bag.


This is where the REAL fun began!! There are image transfers all over Pinterest and design blogs but I had never successfully made a good transfer.  I had my new gel medium and a copy of some vintage wallpaper.  Just try a little spot ..... I put the gel medium onto the canvas pocket flap and onto the paper.  


I pressed the paper down and let it sit there for just about 20 seconds.  Then gently rubbed on the back of the paper and it came off leaving the picture behind!! LOVE!


Love, Love, Love!!


Then adding embellishments, I was SO excited about the image transfer that I forgot to take pictures of the next few steps. (I might have gone a little crazy with the flower and ribbon, but I was SO happy with the new technique that I just kept gluing things on!)


This is the vintage wallpaper sample book that I have!! Some of the wallpapers look straight out of my Grandmother's house!!  I copy the pages on my copier so that I can use the pages over and over.  After I realized the image transfer worked I ran straight upstairs and copied a couple more pages.  I repeated the gel medium steps and had an amazing transfer right onto a Canvas Blank!!


SO MUCH fun and what a great background for another project!!  Can you tell how excited I am??!!


I hope you all enjoyed my project today!!  So glad that I tried something new - so try a new technique today and see where it takes you!!!  Then come back here and share what you did!!!  


And I put my Linnie shapes right back into their much prettier bag!!