Thursday, December 19, 2013

Eclectic Paperie 12 Days of Christmas . . . Day 10 . . . Silks Acrylic Glazes!


Oh my goodness EPeeps!! Only 2 more days of the ePaperie 12 Days of Christmas . . . but boy, do I have a fun product today!! 

Silks Acrylic Glazes!!


 I am IN LOVE!!  Colors, shine, and SO super versatile!  I stamped with them, I embossed with them, stenciled with them and just plain painted with them!! 

So, today go on over to the Eclectic Paperie and take advantage of the deal of the day . . .

Make sure you use the code:   12DAYS10 when checking out to get your discount!!  What's the deal today? Silks – Buy 3 for $15.99   What a deal because normally buying 3 is $21 ... I know I will be adding to my collection today!! 


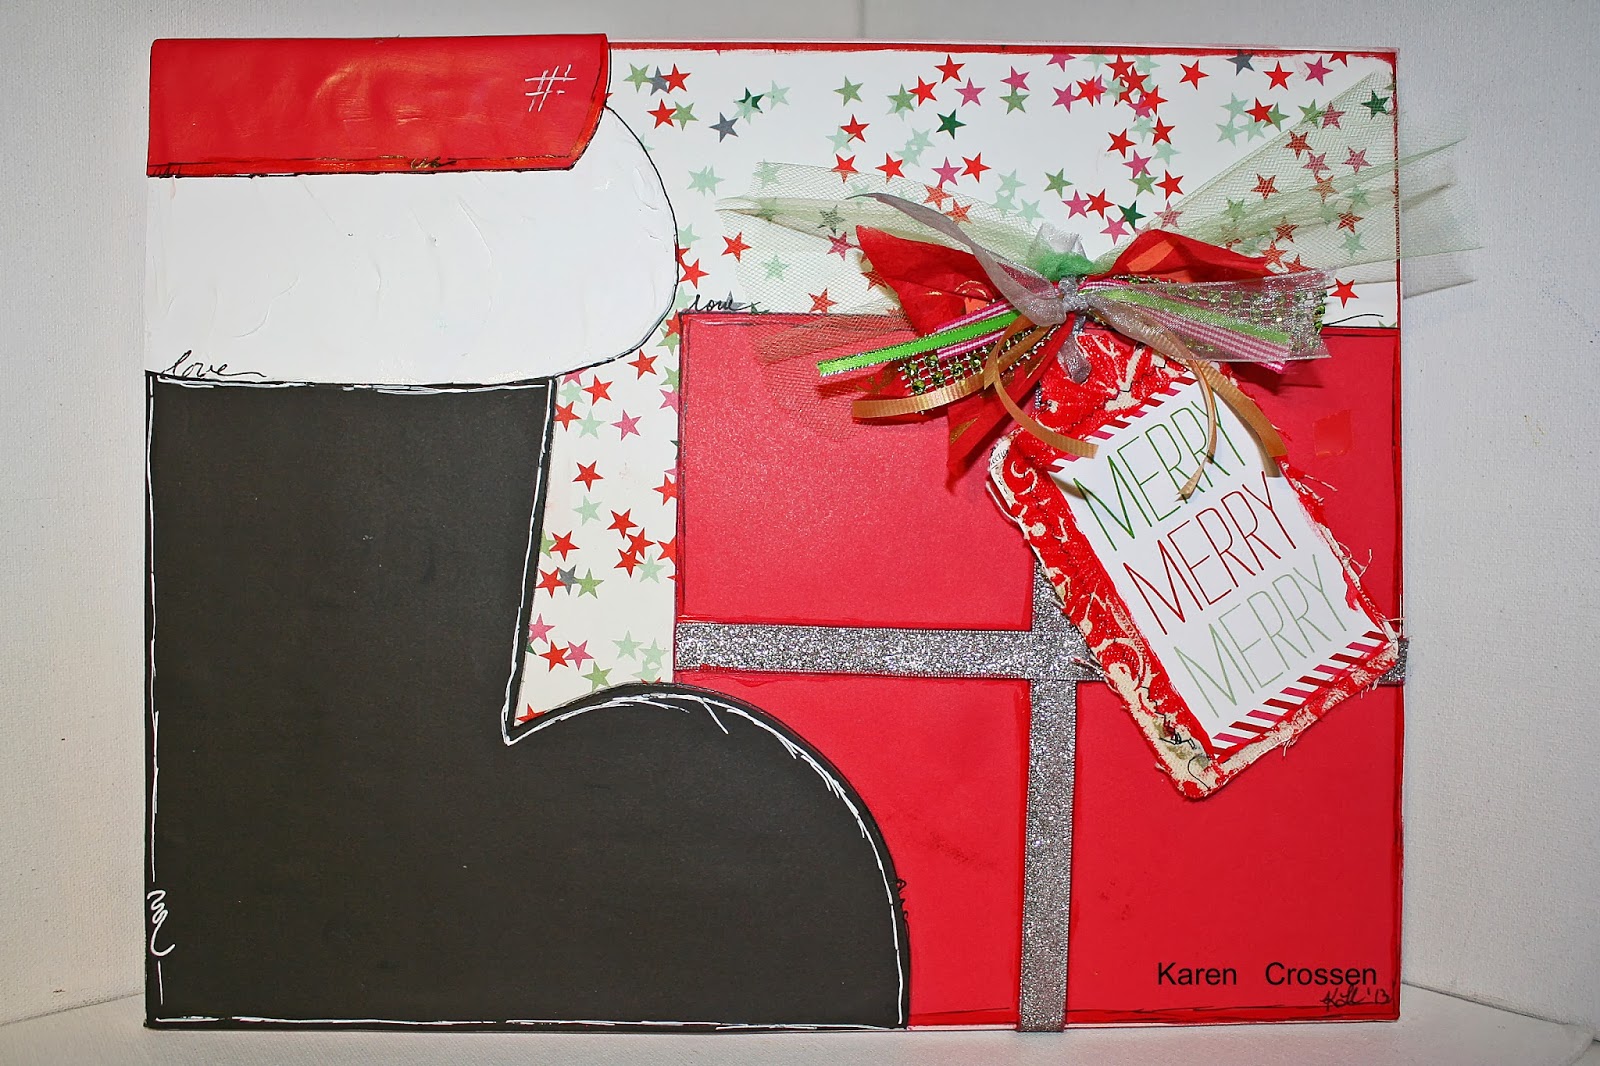
I had so much fun that I ended up with a ton of little experiments that I loved . . . yikes, what to do . . . so I cut them up and sewed them together as my patchwork Christmas quilt canvas!!


So, honestly, I had the flu when I started on this project. I sat in bed and watched a ton of YouTube videos about Silks Acrylic Glazes.  There were SO many ideas out there.  My head was swimming (and full of decongestant) so I just experimented!

I stamped - circles and hearts . . .
I put the Silks Glaze on my craft sheet, dipped my stamp into it and stamped it down! I painted the watercolor paper with one coat of Silks Glazefirst!


 I stenciled with embossing paste too.  First I painted one color of Silk onto the paper and after it dried, the snowflake is painted through a stencil! No bleeding under the stencil! (And the stencil is made from paper) 


I embossed - by mixing the Silks glaze with Wendy Vecchi translucent embossing paste and pushed it through stencils! Love the shine and the texture!! (I think this was one of my favorite techniques!!)


To Create the 'quilt'  I cut up all my little experiments and wrapping paper squares into 2x2 squares.  I glued them down to a piece of cardstock paper and let it dry.  Then I took out my sewing machine, and zig-zag stitched around all the pieces. 


Then I decided the 'quilt' needed a home ... so I got a canvas ready.  I put Christy Tomlinson coffee filter paper around the edges down with matte medium.


I painted the edges of the canvas. The Silks are translucent, so you can see every word from the paper underneath! I also got a little crazy with the embossing technique around the edges too . . . and then I glued it all together!!


This was such a fun project!! I hope you enjoy playing with Silks Acrylic Glazes, I think they might be a new favorite around here!!

HINT HINT!!  Now I was also practicing for my ETeam picks challenge ( using wrapping paper in your project.) So make sure this holiday season that you are keeping scraps of wrapping paper to use in a project with me in the future!!

Wednesday, December 18, 2013

Hello Linnie Bloom Fans!! This week I am sharing with you a Christmas Canvas project that I made with  Linnie Bloom Tags!  


I love Santa and Snowmen . . . in fact, I just love Christmas decorations!! They make me so happy! This canvas found the perfect spot in my front hallway!


For the tag, I used Wendy Vecchi embossing paste, mixed it with red paint and pushed it through my favorite stencil!!  I love these tags because having two sides with a stabilizing paper center, makes them super strong and durable.


I re-used the bow from an actual gift I received this year.  My bows NEVER turn out this nicely, so I recycled a pretty one! I used modeling paste mixed with white acrylic paint for the top of Santa's boot.  And all my favorite Alison Kreft Christmas Stars paper for the background!! But honestly, the Linnie Bloom tag really helps give an awesome dimension to the project.


Thanks for stopping by today!! Make sure to shop at Linnie Blooms for all your canvas shapes and embellishments. They have definitely become a go-to part of my stash!!   Visit the design team on Pinterest, Facebook and  right here the Linnie Blooms Blog!! You can always find me using my Linnie Bloom shapes here so be sure to stop by again!!
-Karen

Friday, December 13, 2013

Pinterest made me do it!!

Every year the girls want to 'make' something for our family for Christmas.  So this year we made our presents and them I 'wrapped' them 'Pintrested' flour sack towels.  This was a really easy craft and they turned out really well!! (So family, if you are ready this, Merry Christmas!!)


I started with plain white kitchen towels from Target.  They sell them in packs of three.  They are thin and basic looking . . . but we can fix that!!

I used Golden paint because that was what I had around the house.  (Fabric paint, might really be the way to go, but I get this on my clothes all the time and it never comes out!!)

I used a paper doily. They actually still sell these at Publix, our grocery store, in with the napkins and paper goods.  Then I used these foam 'spouncers' to spounce the paint through the doily onto the towel! You could also use the Tim Holtz felt applicator too, it really is just about controlling the paint from going under the doily!  It was super easy!!  After a couple of towels though, the doily was done.  Although, once I let it dry, I could use it again!

I did a couple of doilies per towel.  Then I hung them up to dry!  The drying time was very short because there really isn't too much paint on the towel!! 


I also wanted to try stamping an image on a towel.  I have 2 old, huge stamps from Donna Downey.  I inked it up with archival, permanent ink and stamped the image a couple of times at the bottom of the towel.  This would be great for another project because when I wrapped up the presents the stems were upside down and it looked a little strange!!


This a pile of a couple towels! I just might have to keep some for my kitchen!!


After they were all dry I put the jars in the middle of the towel, gathered it up and tied it off with some twine and a little tag!! Simple, cute and re-usable wrapping paper!! Love it!!  Thank you Pinterest!! 


Sunday, December 8, 2013

Get Altered and 12 Days of Christmas!!

Happy Holidays Everyone!!  Today we have 2 wonderful events going on the the Eclectic Paperie . . . . 

First, the 12 Days of Christmas . . . oh, my goodness!! 12 amazing projects and wonderful Christmas deals!!  You will definitely want to stop by the store for some great deals and inspiration!! I can't wait!!
http://eclecticpaperie.com/
Next, we have the Get Altered Challenge for this month!!  OOh, the challenge is altered bottles!!  Come play!! Take a little break from your holiday prep to Get Altered with eP!

http://eclecticpaperie.blogspot.com/2013/12/altered-bottle-december-get-altered.html
I had another Starbucks Frappachino bottle in my stash, so I painted the inside with gesso and white paint.  Then I simply took out some Kaisercraft rub-ons and rubbed them on . . . so simple!  It was a little hard to photograph with a white bottle and white background, but I hope you can see it! It looks great mixed in on my shelf!


Check out the ePaperie to find everything you need to create a project like this!!

Sunday, December 1, 2013

Warm Mittens and Hot Chocolate

Today I want to introduce Linnie Blooms Mitten shapes!! They are just adorable!!  There were so many different ideas I had in mind for these canvas shapes, but I was in the mood to art journal.  So I took out my altered art book and got to work! 


This page was inspired by the fact that it has been COLD here in Atlanta Georgia!! We are not used to it at all!!  So my family was drinking hot chocolate and looking out mittens to wear outside while they raked leaves!!  Even though it was very cold (for us) my girls had such a blast outside and totally forgot how cold it really felt, it made me think of this quote and how true it really is!

The background is built with a text roller stamp, some stencils and teal paint.  The mittens are decorated with scraps of lace ribbon and decorated with acrylic paint.   And the mug is colored with watercolors. 


Thanks for stopping by, I hope you too enjoy using Linnie Shapes!!  Make sure to join me at my blog for more ideas.  Stop by the Linnie Blooms Pintrest Page, this blog and the Linnie Blooms facebook page for daily new LBloom ideas!!  Thank you - K