
Oh
my goodness, I am SO excited to be making my first post as an ePDesign Team member!! I just love working with paper, glue and
paint . . . this project uses them all!!
We
have a corner down the street from us that always has a booth for 4th
of July fireworks, Christmas trees and the pumpkin patch.
I was super excited to see the lights going up, the inflatables
wiggling in the wind and the rows of pumpkins being set up last
weekend. We might not have the 'coolest' fall weather here in
Atlanta Georgia, but the pumpkin patch means that fall is here!!
Yeah!!
This is my pumpkin canvas decoration I made for the house this year!! I hope you enjoy it!!

I started with a free printable from Pintrest and used Matte medium to glue it down.


The
white of the paper was a little bright so I added Titan Buff from
Golden all around and a couple of smudges of orange! (Just stick your
fingers in the paint and move it around on the canvas until it makes
you happy!)
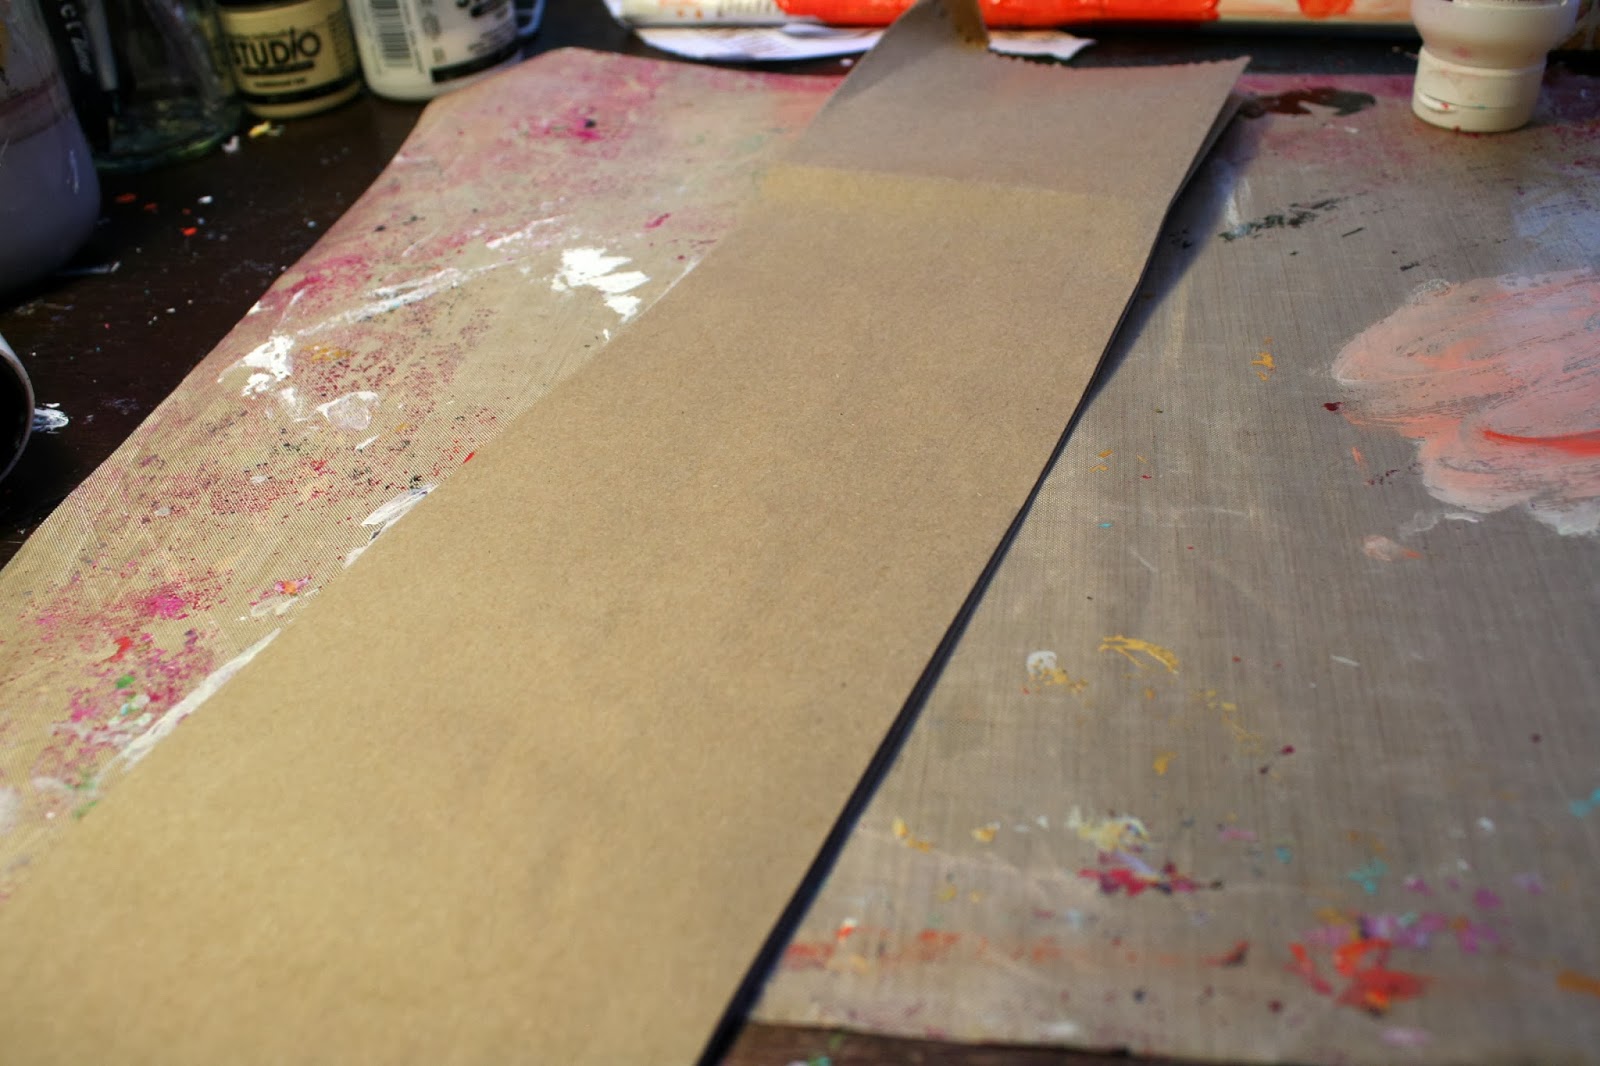
One
of my favorite types of paper are the brown bags you get at the
grocery store. I store them (it really isn't hording if I plan
to use them, right?) and use them sparingly. I ripped this one
up into the branches and the curly-cues for the canvas.

I
cut several thin strips of the brown bag and coated them in
matte-medium and curled them into corkscrew shapes. You have to
do one at a time, because the matte medium dries really quickly and
there isn't much time to make a good corkscrew. When the medium
dries though, the paper stays in shape! Love this!
Decoupage
is a little bit stronger (but much goopier) than matte medium in my
opinion, so I used it to glue the 'branches' down. This way,
the branches can bend out from the canvas and not fall off the
canvas!

Random
black paper from my stash made some random black bats to hang from
the branches. And I used twine to actually suspend them from
where the branches pull away from the canvas. This way the bats move
around in the wind! I stapled the bats to the twine and then added a
dot of Helmar glue to make sure they didn't slide off!!

Next
came the rub-ons and doodling to finish the canvas off!!

Thank
you so much for taking a look today!! I hope you have a chance to sit
down and create a pumpkin canvas of your own this season!!

I am linking this Halloween Pumpkin up, for the 2 Creative Chicks: Spooktabular Linky Party!! Come and join the fun!
http://www.2creativechicks.com/2013/10/spooktacular-linky-party-kick-off.html
And make sure to stop by the ePaperie Store, to browse through all the amazing products that I used here!
Very cute! Love how the brown paper looks kind of like old corn stalks! Great job, Karen!
ReplyDelete